
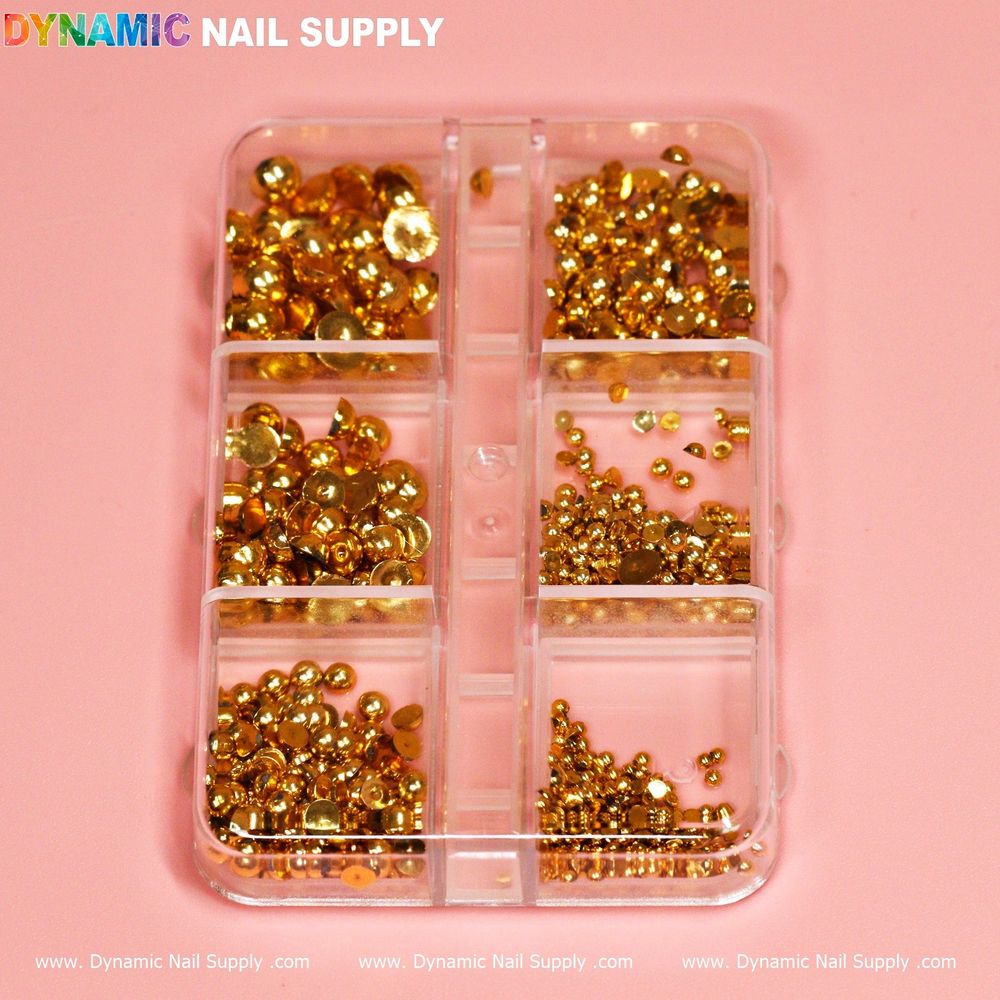
Small metal accents can transform a basic set into a signature salon service. Gold ball beads for nails are a low-cost, high-impact embellishment that slot easily into existing protocols when you plan your workflow around them.
Stocking and pre-service prep
Each pack contains six grids of pearl-style or bead embellishments, arranged for quick selection by nail artists. Keep inventory organized by style — label storage trays with the tag or product name and rotate stock so you always have fresh-looking beads at the front.
For quick restock, consider ordering this bead pack. If you buy from a single supplier it simplifies reordering and reduces downtime; the vendor listed with this product can be used as your purchasing contact if needed.
Setting up the station before the client arrives
Arrange tools and consumables in the order you’ll use them: cleanser, primer (if used), base product, bead placement tools (dotting tool or tweezers), and a dish with the bead grids open for easy access. Place a small bead tray or non-slip mat to catch runaways—these beads are small and easy to lose.
Step-by-step placement during the appointment
- Base and cure: Apply your chosen base (polish, gel, or builder) and cure as your protocol requires. Beads adhere best to slightly tacky surfaces for gel systems or tacky-layer-friendly top coats.
- Plan the layout: Visualize the negative space you want to preserve. Use beads sparingly for accent nails or densely for textured looks—either approach works depending on client preference.
- Pick and place: Work one nail at a time. Use a fine tweezer or a wax-tipped picker to lift beads from the grid and position them precisely.
- Secure and finish: Seal beads with an appropriate top coat or gel encapsulation according to your service type to lock them in place and extend wear.
Placement techniques that save time
- Batch placement: If you’re applying several beads in the same area, set them in sequential order without curing between each bead to save time; then do a single cure to lock the group.
- Use guides: A striping tape or a reusable stencil helps maintain even spacing when laying out rows or patterns.
- Pre-arranged clusters: For complex motifs, assemble small clusters on a wafer or palette before transferring them to the nail to reduce handling time.
Designs and service add-ons
Gold ball beads pair well with minimalist manicures, bridal sets, geometric layouts, and mixed-media textures. They can serve as a focal accent on a single nail or be combined with flatback rhinestones and metallic foils for premium upgrades. Using them as an add-on creates an opportunity for upselling — list bead application as a priced enhancement on your service menu.
Who benefits from this product
These gold ball beads are ideal for nail technicians who want a versatile, easy-to-store embellishment that speeds up creative services. They suit salons offering express design packages, full-service nail art, or seasonal promotional sets. Each pack’s organization into six grids supports technicians who need quick access without repeated sorting.
Care, storage and client aftercare
Store unused bead grids in a dry, labeled container to prevent dust buildup. During the service, keep a small brush or blower to remove stray dust before sealing. For client aftercare, advise gentle handling of embellished nails and to avoid prolonged soaking immediately after the service to maximize adhesive longevity.
Quick notes on pricing and vendor
The displayed price for this product is $6.00; prices can change, so confirm at the time of purchase. If you prefer to consolidate supplies, you can source these bead grids from the listed supplier for consistent inventory management.
When planned into a steady workflow, gold ball beads for nails become a fast, reliable way to raise the perceived value of routine services without adding much chair time. With thoughtful station setup and a few placement tricks, they deliver luxe results that clients notice.
