
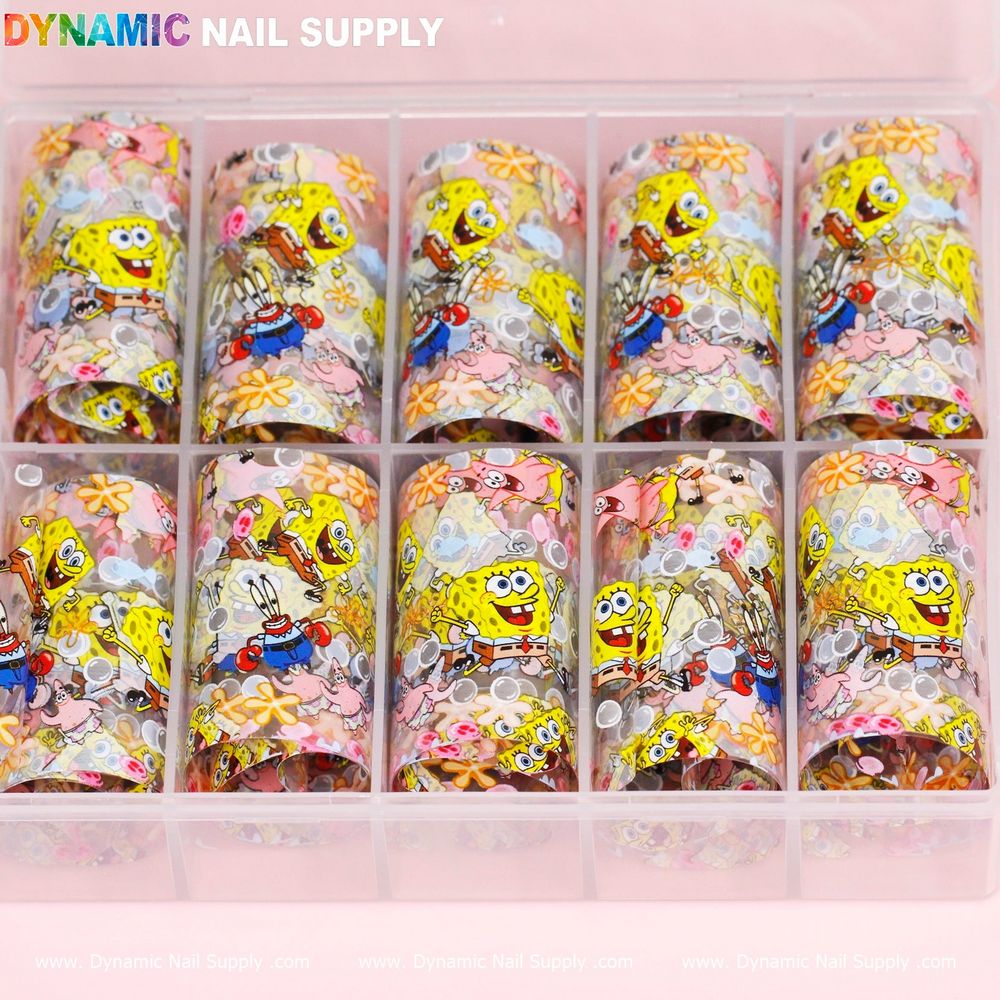
Cartoon nail art foils turn ordinary manicures into playful, eye-catching designs without complex hand-painting. Whether you’re working in a salon or doing nails at home, the right technique makes these small sheets look like custom decals. This guide walks through preparation, transfer, finishing, and troubleshooting so you can deliver consistent professional results.
Why choose cartoon nail art foils
Cartoon-style foils give you bold motifs and repeatable images—great for seasonal sets, kid-friendly manicures, or pop-culture looks. Many packs include a variety of tiny motifs that can be applied individually or combined across tips. Because the designs are pre-printed, they save time compared with freehand art while still allowing creative placement and layering.
Tools, products, and workspace setup
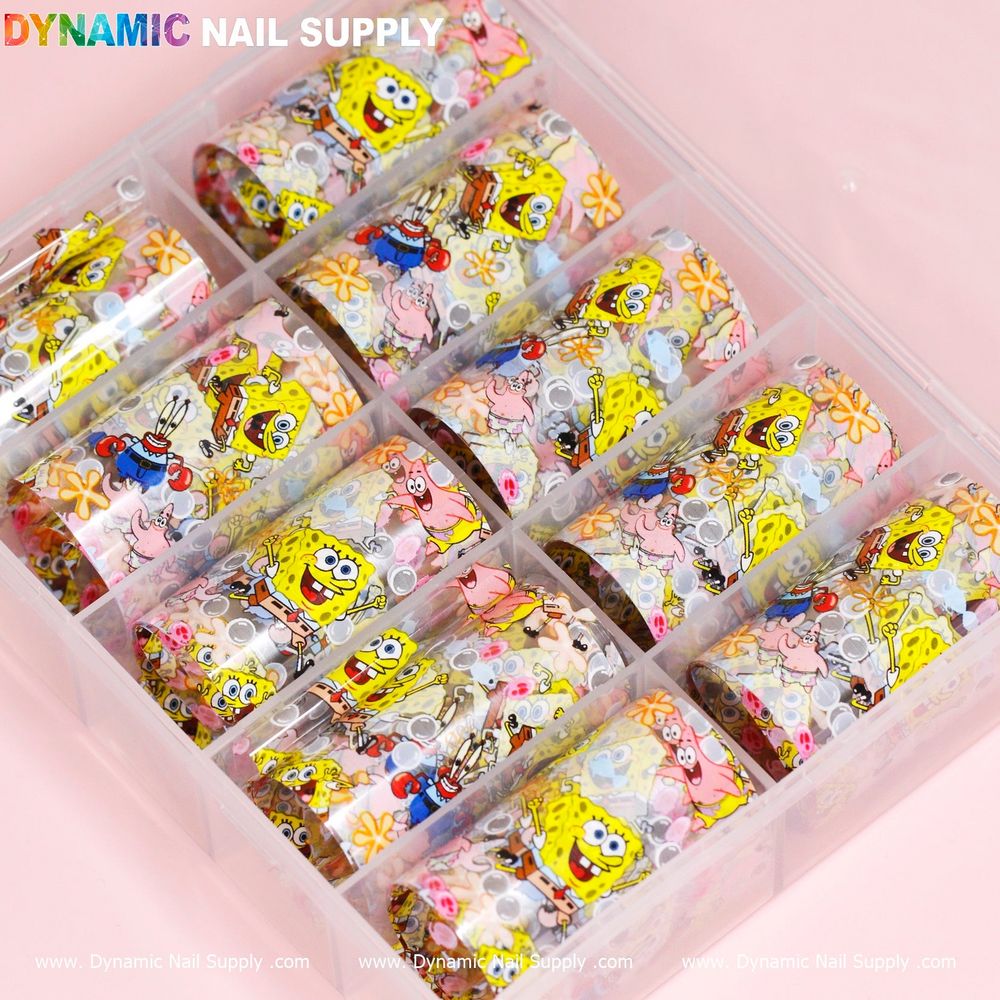
Set up a clean, well-lit station with all the small tools you’ll need within reach: a nail file and buffer, a push stick or orangewood, tweezers, small scissors, lint-free wipes, and a flat applicator or silicone tool for burnishing. You’ll also want base and top coats, and a suitable adhesive medium—this can be a foil transfer adhesive, a tacky gel, or a sticky base designed for foil application. For clients who prefer cured finishes, include a UV/LED lamp.
When shopping, look for thematic packs labeled for nails; for example, themed options often include Cartoon-style motifs and licensed designs. If you prefer a specific motif set, check retailers for the exact style—Nail Foils Cartoon Style.
Step-by-step application for salon-quality transfer
Follow these steps to apply cartoon nail art foils with consistent results.
1. Prep the natural nail
- Sanitize hands and instruments. Lightly push back cuticles and remove excess skin from the nail plate.
- File and shape the nails, then buff lightly to remove shine so the adhesive bonds evenly.
- Clean the nail with a lint-free wipe and an appropriate cleanser to remove oils and dust.
2. Apply base color (optional)
A solid base color can make the cartoon motifs pop. Allow the polish to dry fully, or cure the base coat if using gels, before moving to the adhesive step.
3. Apply adhesive/transfer medium
- Apply a thin, even layer of foil adhesive or a tacky gel across the area where the motif will sit. Follow product directions for drying or curing times.
- Adhesive should reach a tacky state—too wet and the foil won’t stick cleanly; too dry and the transfer will be patchy.
4. Position and transfer the foil
- Cut or tear small bits of foil close to the motif you want. Use tweezers for precise placement.
- Place the foil motif-side down on the tacky area. Use a silicone tool or flat wooden stick to burnish from the center outward and eliminate air pockets.
- Peel the backing away briskly—if the image transfers, you’ll see the cartoon motif adhered to the nail. If not, reapply pressure or check adhesive tack.
Finishing touches and sealing the design
After transfer, apply a thin layer of topcoat to seal and protect the motif. If the foil is slightly raised at the edges, a builder gel or a thicker topcoat layer can smooth the finish. Cure under a UV/LED lamp if using gel topcoats. For a glossy finish, use a high-shine topcoat; for a matte look, a matte topcoat will preserve the artwork with the desired finish.
Salon vs at-home considerations
- Speed: In the salon, pre-cutting motifs and using a lamp speeds up service. At home, work on one hand at a time to maintain control.
- Tools: Professionals often use specialized transfer gels and silicone burnishers, while home users can adapt with standard tacky bases and small implements.
- Design choices: Mix motifs across tips for a playful effect, or use matching images for a uniform look.
Care, removal, and safety notes
To keep cartoon foil designs looking their best, advise clients to avoid excessive soaking and to use a gentle hand when removing polish. For removal, soak with standard polish remover or follow the gel removal process if a gel topcoat was used—do not force peel the foil off, as that can damage the natural nail. Always work in a ventilated space and follow safety instructions for any adhesives, gels, or lamps you use.
Who will love these foils
Cartoon nail art foils are ideal for nail artists offering fun, themed sets, parents arranging party manicures, and anyone who wants bold, repeatable motifs without detailed freehand work. They’re also useful for nail technicians who need quick, consistent art options for clients who prefer playful or character-driven designs.
These Cartoon-style foil sheets are an accessible way to broaden your art library—many packs are affordably priced (some variants retail around $6.00) and work well as a creative add-on during a service. If you’re building a collection, keep several motifs on hand for mixing and layering.
With careful prep, the right adhesive technique, and a protective topcoat, cartoon nail art foils can yield professional, durable results every time. Start with simple placements, practice burnishing and peeling, and soon you’ll be producing consistent, salon-quality cartoon mani looks.
