
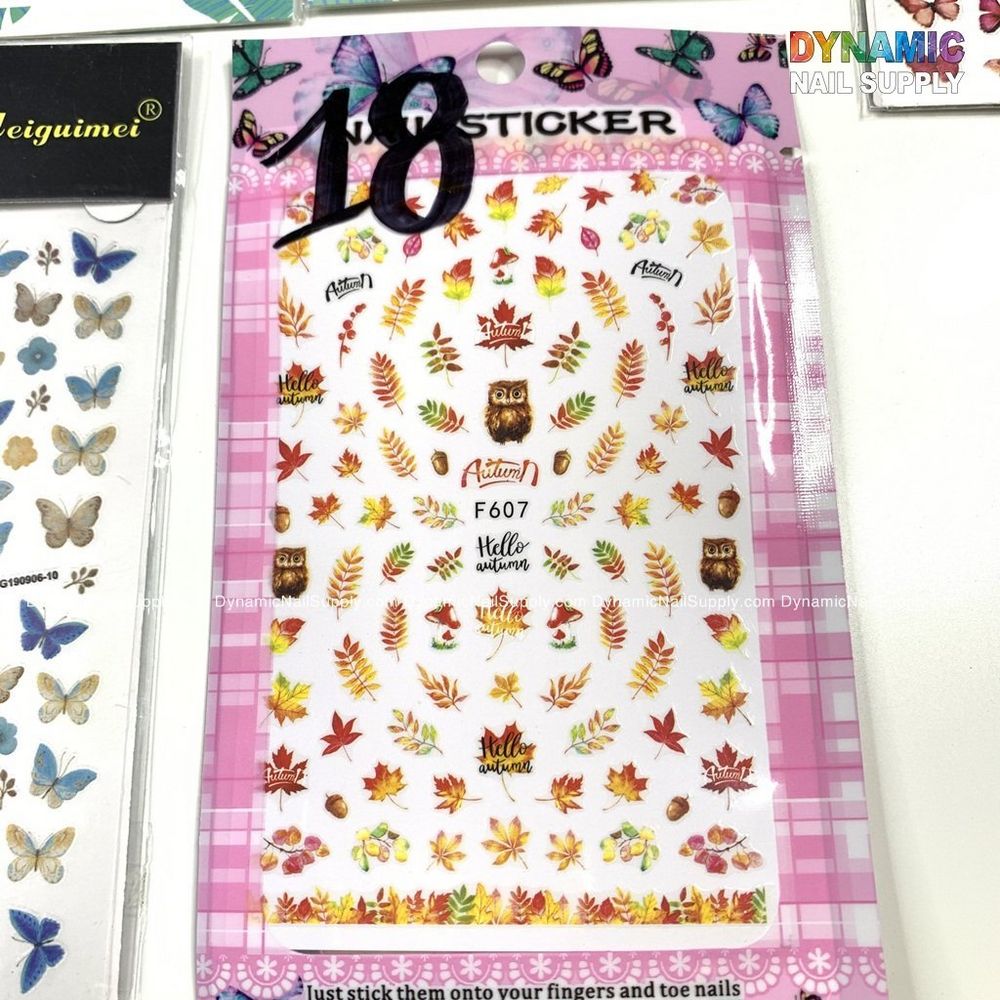
Quick intro: why butterfly nail stickers are great for beginners
Butterfly nail stickers are an easy, low-commitment way to add detailed art to nails without freehand painting. They suit practice sessions, seasonal looks, or a quick uplift between salon visits. Because they come ready-made, you skip complex brushwork and get consistent results on each nail.
For a beginner-friendly option, try the Sticker 18 pack when you want a compact, ready-to-use set of decals. These stickers are a simple way to experiment with placement, layering, and top coats before moving on to more advanced techniques.
What exactly are butterfly nail stickers?
Butterfly nail stickers are small adhesive decals printed or embossed with butterfly shapes and patterns sized for fingernails. They’re designed to adhere to natural nails, polish, or gel finishes and provide a decorative focal point without elaborate skill. In many packs, you’ll find a variety of sizes so you can match each sticker to different nail widths.
Tools and prep: what you need before you start
- Clean nails: nail polish remover or gentle cleanser to remove oils
- File and buffer: to smooth edges and the nail surface
- Tweezers or a cuticle stick: for precise placement
- Base coat, polish or cured gel: if you want a colored background
- Top coat: to seal stickers and add shine or matte finish
Step-by-step application for beginners
- Clean and shape: Remove old polish, push back cuticles gently, and file nails to your preferred shape. Wipe nails with remover to ensure no residue remains.
- Apply base color (optional): If you want a colored backdrop, apply one or two thin coats of polish and let them dry completely. For gel systems, cure according to product instructions.
- Choose sticker sizes: Lay out stickers and match each to the nail it will sit on so you don’t struggle during placement.
- Peel carefully: Use tweezers to lift the sticker edge and peel it from its backing. Avoid touching the adhesive side with fingers if possible.
- Place on the nail: Position the sticker starting at the cuticle or center, then smooth toward the free edge to remove air pockets. A cuticle stick can help press edges down.
- Trim or file excess: If the sticker overlaps the free edge, trim with small scissors or file gently in a downward motion to clean the edge.
- Seal with top coat: Apply a thin, even layer of top coat over the entire nail, ensuring the sticker edges are sealed. For extra durability, apply two thin layers, allowing drying or curing between coats.
Practical tips to get salon-looking results
- Work on dry polish: Stickers adhere best to fully dried or cured polish—wet polish can lift the decal.
- Use thin layers: Thinner top coats dry faster and reduce the chance of sticker edges lifting or wrinkling.
- Layer thoughtfully: Place smaller stickers near cuticles and larger ones toward the tips for balanced composition.
- Press edges well: Run a silicone tool or a clean brush over edges after applying top coat to ensure adhesion.
Removal and basic care
To remove stickers, soak nails briefly in acetone-based remover or use acetone wraps for gel or stubborn adhesive. Gently push the sticker off after the adhesive softens—do not force it to avoid damaging the natural nail. After removal, follow with a nourishing cuticle oil and give nails a break between consecutive applications if you notice dryness.
Who should use these stickers?
These butterfly nail stickers are ideal for beginners experimenting with nail design, salon techs looking for a quick add-on, and anyone who wants a temporary decorative option without investing in tools for hand-painting. They’re also handy for themed events or trialing a motif before committing to a full set.
Care, safety and storage notes
- Store stickers flat in a cool, dry place to prevent adhesive breakdown.
- Avoid touching the adhesive surface to preserve stickiness.
- If you have sensitive skin or adhesives react with you, perform a patch test before wide application.
- Keep away from children and pets who might ingest small pieces.
Where to buy and final thoughts
These small decorative stickers are an affordable way to expand your nail art options; the current pack price is $2.00 but prices may change. You can find them through professional suppliers and retailers; Dynamic Nail Supply carries compact, practice-friendly options that suit both learners and pros.
With a little preparation and patience, butterfly nail stickers deliver polished, creative results with minimal tools. They’re an excellent first step into nail art—try matching background colors, experimenting with placement, and sealing well to see how long your designs last.
