
Quick answer: use a glossy black gel base, place a single 20pcs Silver Rhinestone Tiny Spider Charm near the cuticle or tip, and lock it in with a thin gel topcoat for a classic Halloween accent.
Check the 20pcs Silver Spider Charms for this exact tiny spider design by following 20pcs Silver Spider Charms to see the set.
Start clean and choose your placement
We like a shiny black canvas for black spider nail art because the mirror-silver charm really pops. Prep nails the way you normally would for gel: push cuticles back, lightly buff the natural nail surface, and wipe with isopropyl alcohol to remove dust and oils. For this tutorial we place a single tiny spider charm per nail on the ring or index finger as the accent. If you want a practice layout, set three placement templates on paper: near the cuticle, at the side corner of a French tip, and centered on the free edge.
Build the glossy black base: step-by-step
- Apply a thin gel base coat and cure as directed by your brand.
- Apply two thin coats of a true glossy black gel polish, curing each layer fully. Thin coats keep the surface smooth for charms.
- Finish with a tack-free or slightly tacky cure on your final black layer depending on your topcoat strategy (see next section).
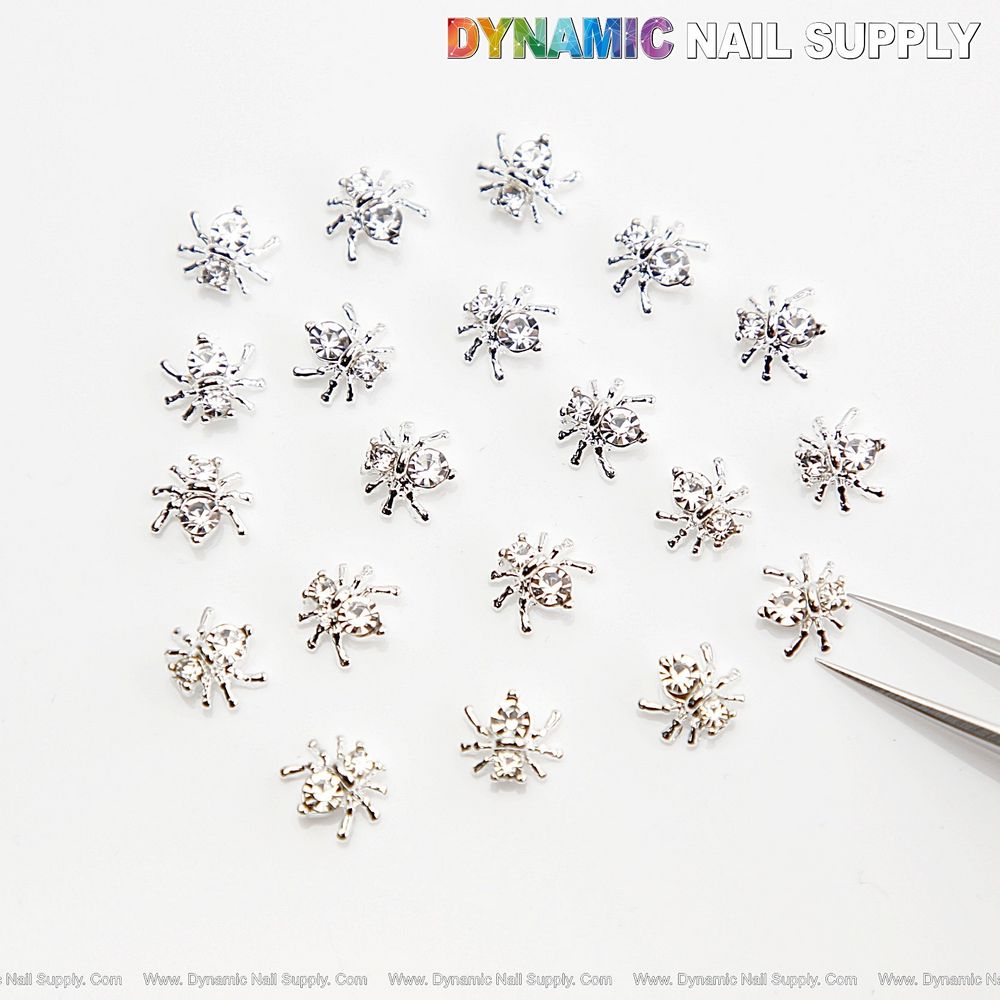
20 tiny mirror-silver spider charms in clear pouch
Placement templates and how to handle the tiny silver spider
The 20pcs Silver Rhinestone Tiny Spider Charm set is a collection of identical, mirror-silver metal spiders with a faceted clear stone in the center. Their small size makes them ideal for simple, refined black spider nail art. Use a dotting tool or a wax picker to lift one charm from the pouch. For steady placement try these templates:
- Cuticle anchor: place the spider just above the cuticle on the nail plate for an elegant focal point.
- Side corner: place the spider where a French tip would meet the sidewall for a subtle spooky twist.
- Free-edge center: situate the charm on the tip center to catch light when fingers move.
Common mistake: dropping the charm onto a wet, thick top layer. That traps air and creates lift. Place on a thin, slightly tacky surface or on a small bead of builder gel instead.
Secure it right: topcoat and curing tips
We recommend one of two reliable approaches for securing this tiny metal-and-rhinestone charm:
- Encapsulation method: place the charm, then cover with a thin layer of builder/clear gel and cure. File gently at the edges if needed, then finish with a glossy topcoat.
- Raised accent method: place the charm on a thin cured black layer, dot a small amount of clear gel under the charm to act as glue, cure, then add a thin topcoat around (not over) the charm for sparkle retention. This keeps the rhinestone facet reflective.
When using a glossy topcoat, cure fully and wipe the inhibition layer only if your topcoat instructions specify. If you like a mixed texture, use a matte topcoat on the rest of the nail and leave a glossy window around the spider for contrast.
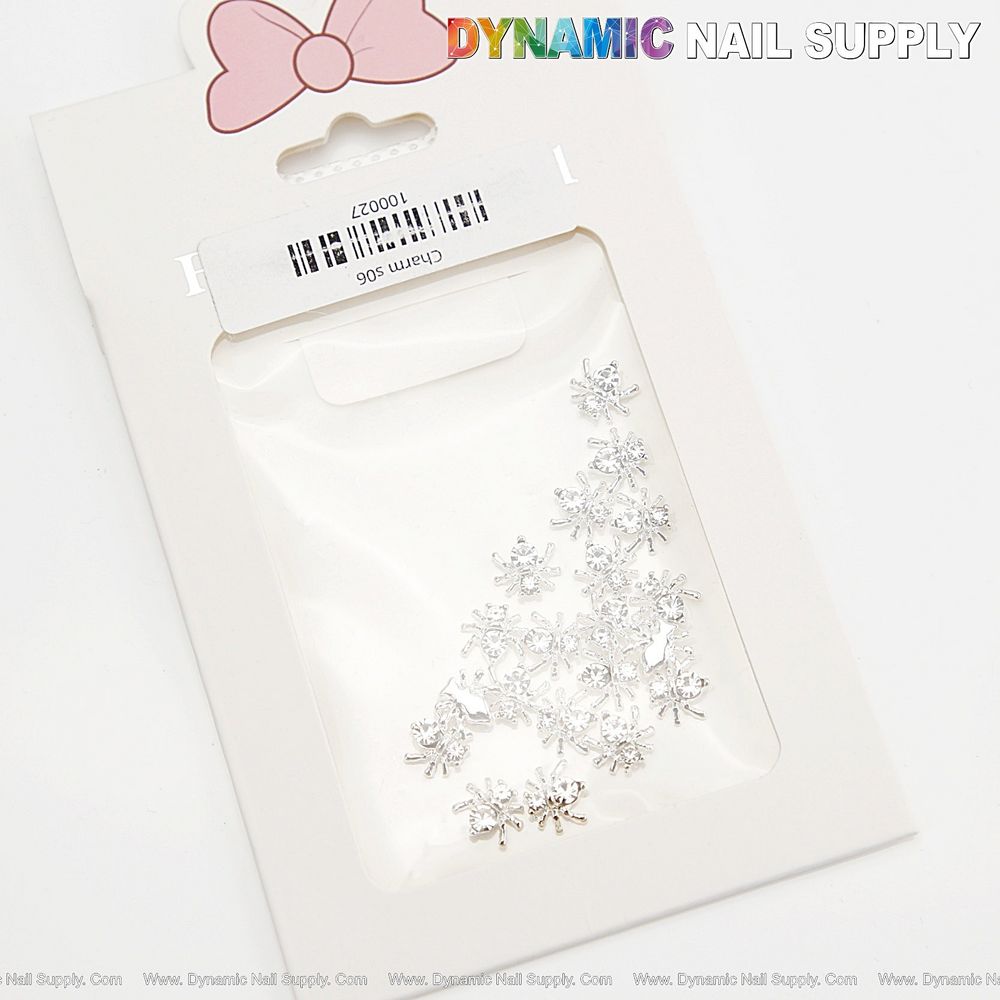
Faceted center stone catches light on glossy black
Three finish options to photograph and share
We like to show three looks so you can choose which fits your style. Take photos under bright light to show the faceted center stone sparkle.
- Classic glossy: full glossy black base with the spider near the cuticle, topcoated over the surrounding nail but not flooded over the charm. This keeps the mirror finish and the stone bright.
- Gothic glam: matte black base with a glossy halo around the spider. Apply a matte topcoat over the nail, then mask a small circle where the charm sits and add a glossy topcoat only in that area before placing the charm.
- French accent: glossy black French smile with a tiny spider at the corner of the white or chrome smile line. Place the charm at the junction for a cheeky seasonal twist.
Final tips, safety, and care
Small metal charms like these are decorative accents only. Keep in mind they are tiny parts—avoid use for young children and store the pouch safely. Press the charm gently after placement and cure again if unsure. Avoid rough scraping against hard surfaces to keep the legs and faceted stone intact.
Price note: this 20-piece set is listed at $5.99 but prices may change.
Final pro tip: if you want the charm to last longer under wear, anchor a tiny bead of clear gel under the spider leg area and cure from the side for full adhesion without dulling the center stone.
