
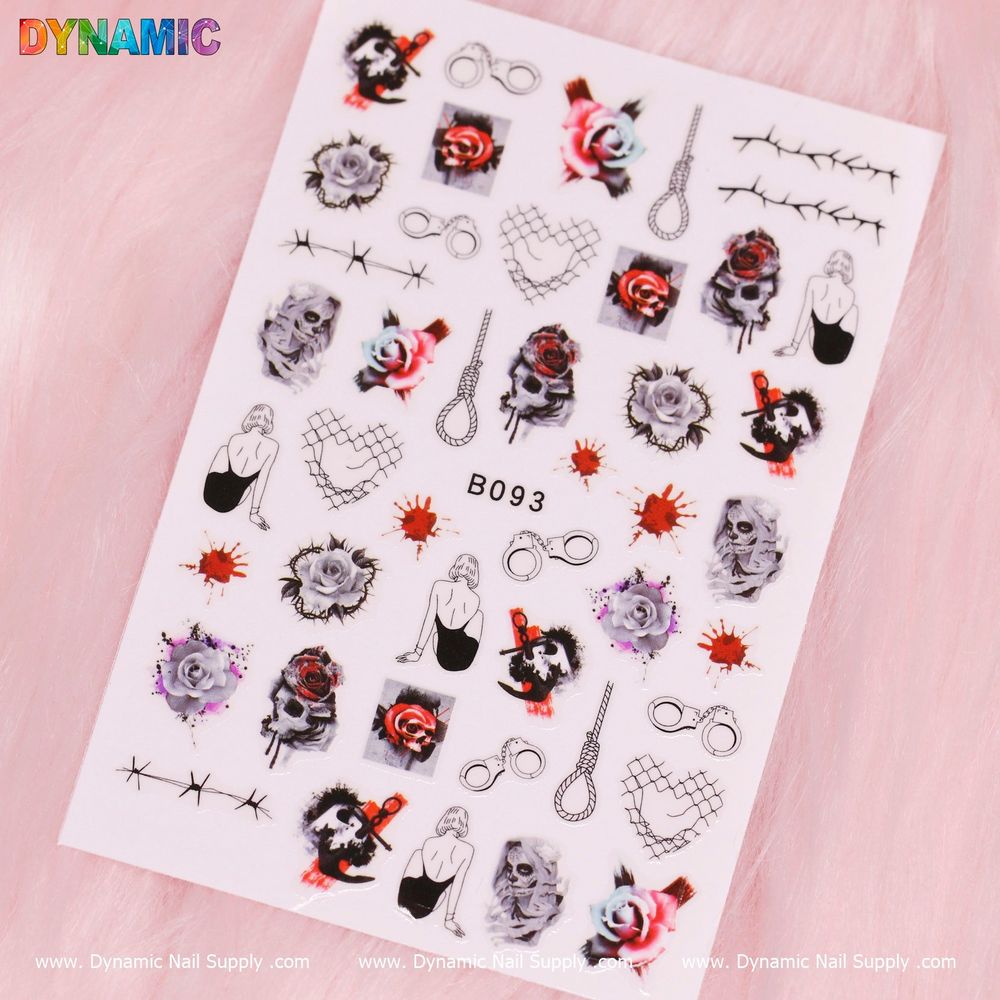
If you’re new to nail stickers, Halloween nail art stickers are one of the easiest ways to add spooky detail without advanced tools or hours of practice. This guide defines the key terms, walks through a simple application routine, and gives practical tips so your tiny skulls, roses and blood drips look crisp and last longer.
What people mean by “nail stickers”
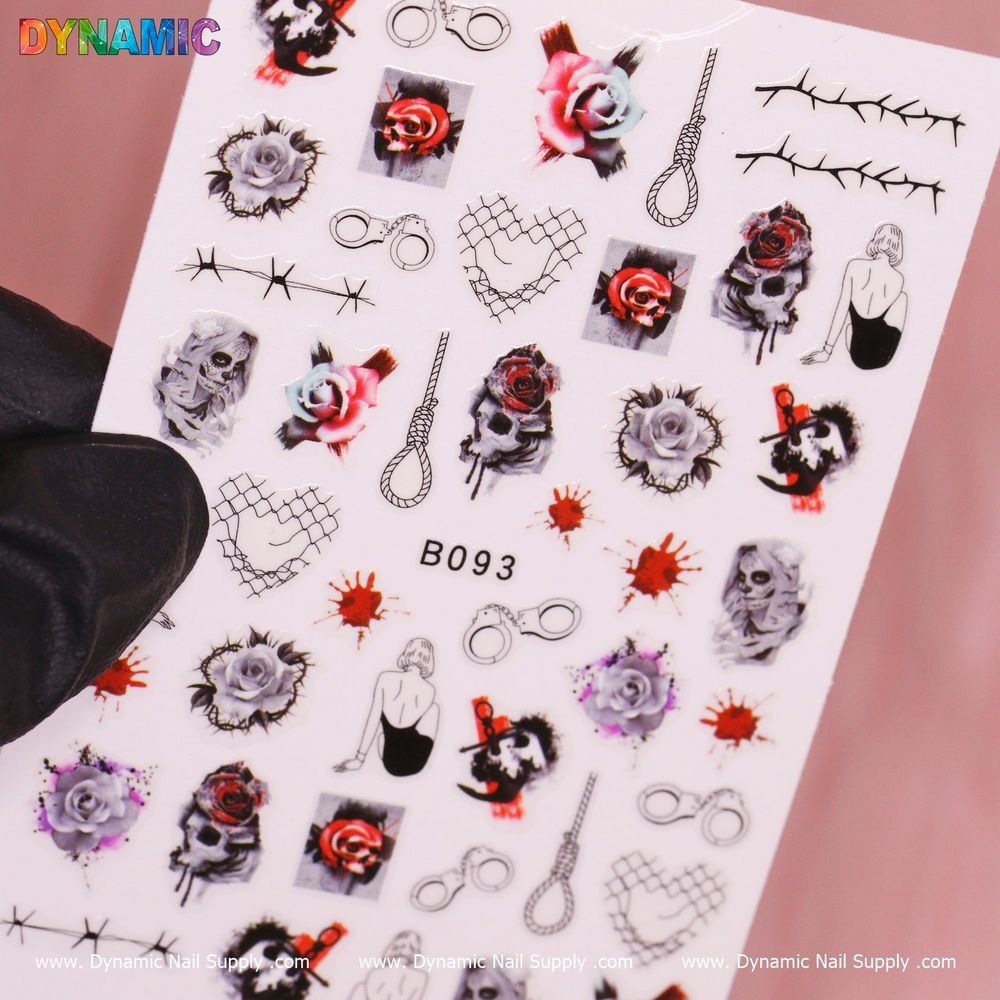
In nail art, stickers are pre-printed motifs on a thin carrier that transfer to the nail surface. Designs tagged for Halloween commonly include skulls, roses, blood splatters, rope, handcuffs and Day of the Dead elements—perfect for gothic or horror looks. If you want to buy the Halloween nail art stickers pack for a compact collection of spooky motifs, look for single-sheet options that are sized for fingertips.
Essential terms to know
- Decal vs sticker: Decals may require water or a solvent to activate, while stickers usually peel and stick directly.
- Top coat: A clear polish applied over stickers to seal and protect them.
- Base coat: The foundation layer that evens the nail surface and helps adhesion.
- Cuticle area: Keep stickers off the cuticle to avoid peeling and lifting.
Preparing your nails (simple checklist)
- Clean nails with soap and water or a gentle cleanser; remove oils and lotion.
- File and shape nails to your desired length. Smooth the surface lightly with a buffer if needed.
- Apply a thin base coat and allow it to dry fully—this helps stickers adhere evenly.
- Choose a background color if you like (black, deep red, or pale ivory suit Halloween themes).
Step-by-step application for beginners
- Plan your layout: Before peeling, hold the sticker sheet over nails to decide placement—centered skulls or off-center roses both work.
- Peel carefully: Use tweezers or your nail stick to lift the motif from its backing. Smaller pieces are easier to position with tweezers.
- Place and press: Set the sticker on the nail and press from center to edges to remove air pockets.
- Trim excess: If design overhangs, file gently along the free edge of the nail to remove extra material.
- Seal with top coat: Apply one or two thin layers of clear top coat, allowing each to dry. This locks the sticker in place and smooths edges.
Design tips and placement ideas
- Mix small and large motifs: place a large skull on an accent nail and smaller roses or blood drops on supporting nails.
- Layer cautiously: thin stickers can be layered over a subtle shimmer polish for depth, but avoid stacking too many layers of sticker material.
- Negative space looks great with gothic motifs—leave parts of the nail bare for contrast with a dark design.
Who these stickers are best for
Halloween nail art stickers are ideal for beginners, busy stylists creating seasonal looks, or anyone who wants a quick, low-commitment design for a party. They work well for home use, themed events, and as accent details in a salon manicure.
Removal, care and safety notes
- Removal: Soak cotton in nail polish remover and hold on the sticker for a minute; gently lift from the edge. Avoid prying to protect the natural nail.
- Longevity: Avoid hot water and harsh detergents right after application; allow top coat to cure fully for best wear.
- Safety: Keep stickers and small backing pieces away from children due to choking risk. If you have a nail allergy, test a small patch first.
- Storage: Store the sheet flat in a cool, dry place to prevent curling or adhesive loss.
Practical tips for pro results
- Work on one hand at a time to prevent smudging while the opposite hand dries.
- Use a fast-dry top coat if you’re short on time, but allow at least a few minutes between coats.
- For complex placement, use a dotting tool or orange stick to nudge edges into position before pressing down fully.
These simple stickers—often priced affordably—let you create striking seasonal nails without specialized equipment. For example, a single sheet is commonly sold at an accessible price; check current availability from Dynamic Nail Supply as stock and pricing may vary. Try mixing motifs across nails for an instantly festive, spooky manicure that’s quick to apply and easy to remove.
With a bit of planning and the right top coat, Halloween nail art stickers deliver dramatic, clean results even for first-timers. Start small, experiment with placement, and you’ll get confident with each application.
