
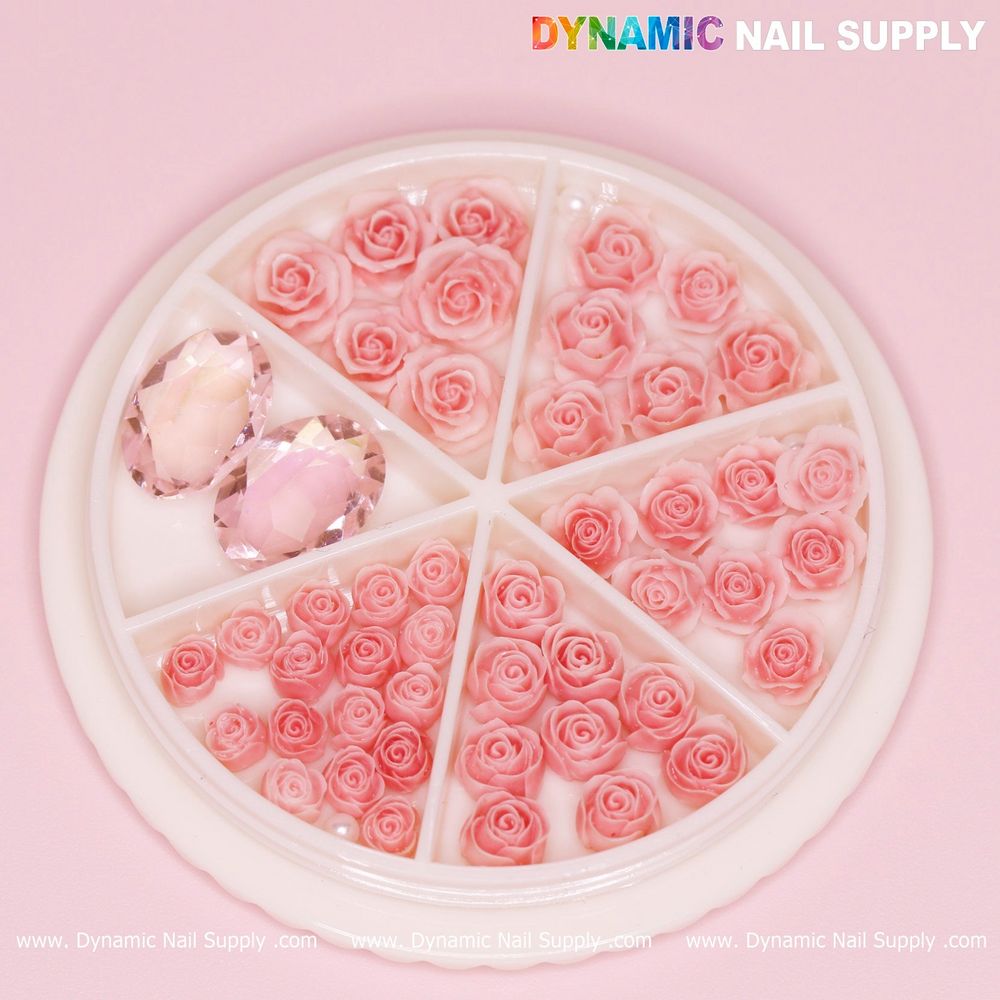
Small accents can transform a manicure from pretty to professional. Pink rose nail charms—tiny 3D roses paired with rhinestone pearls—are an easy way to add texture, romance, and a couture feel to natural nails, tips, or extensions. This guide walks through preparation, placement, sealing, and creative ideas so you can create salon-worthy sets using a 40-piece pink rose charm kit.
What’s in the pack and why it matters
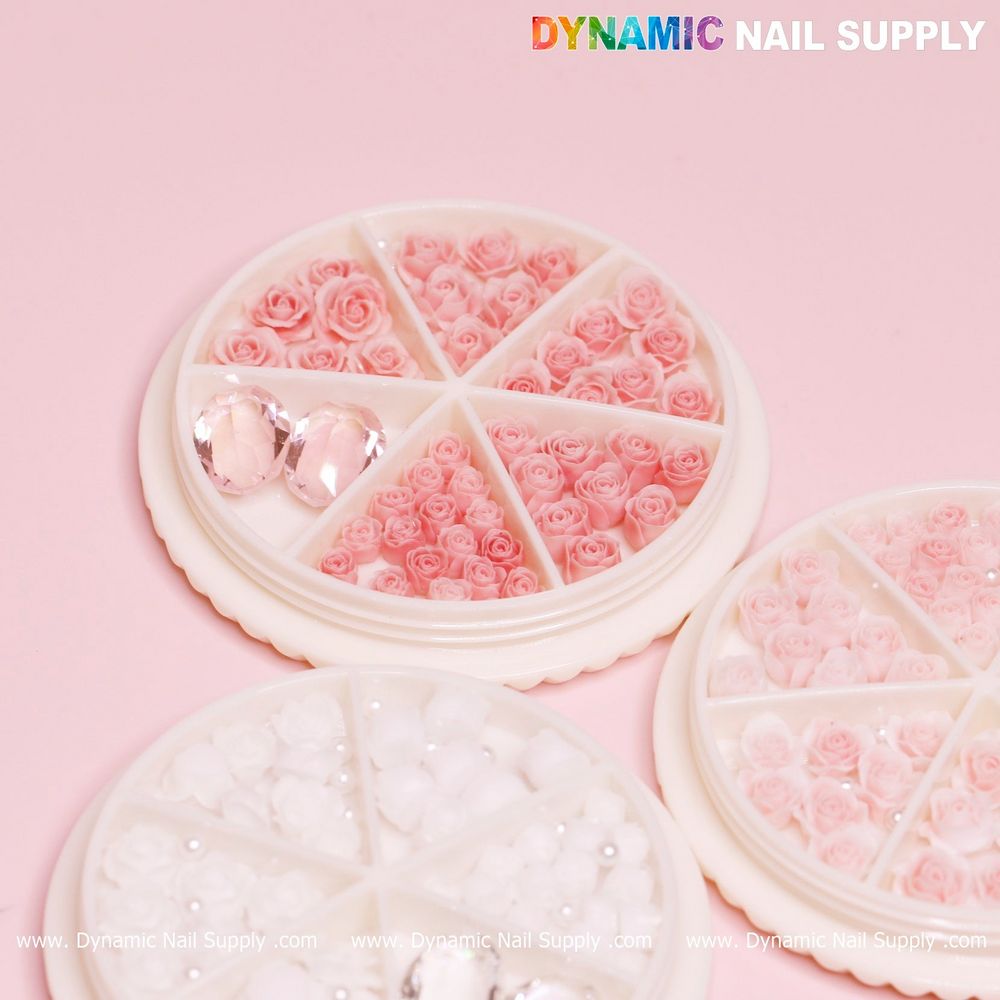
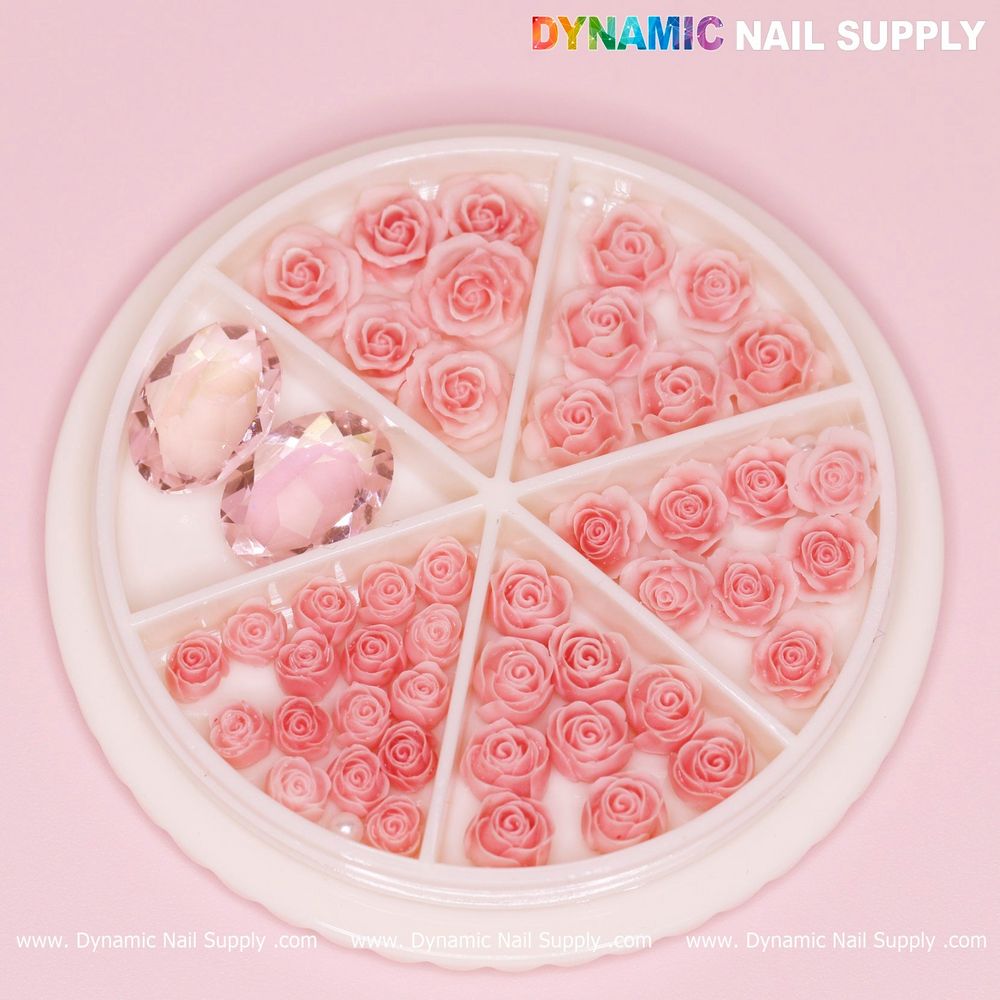
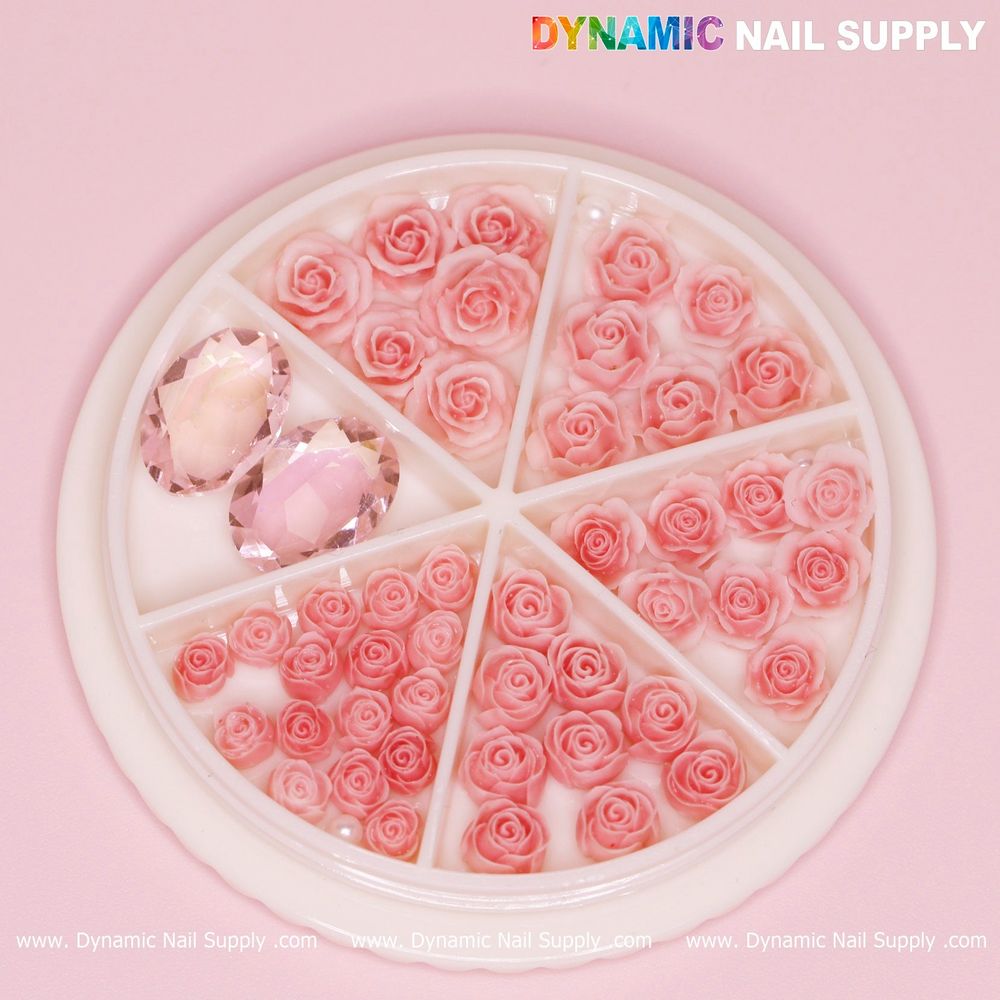
The kit contains forty small pink rose charms paired with rhinestone pearl accents, sized for nail art design use. Having multiple pieces lets you practice placement, mix sizes across fingers, or offer a consistent motif across a full set. Keep the pieces organized in a small tray or sectioned palette to speed up service in the salon or at home.
Prep for professional adhesion
Great results start with surface prep. Work on clean, fully dry nails—no lotions or oils. Gently push back cuticles and lightly buff the nail plate where a charm will sit so glue bonds to a slightly roughened surface. If you’re applying to enhancements, ensure the top layer is thin and smooth enough for placement.
Tools and adhesives to use
- Fine tweezers or a wax pencil for accurate placement.
- A small spot of strong nail adhesive or builder gel for secure hold.
- A cure light if you use gel adhesive.
- A clear topcoat or builder gel to seal the edges.
For an easy add-on to any kit, check Nails Art Accessories pink rose to see a ready 40-piece pink rose option and keep one set reserved for practice or client trials.
Placement techniques for a clean, long-lasting look
There are two reliable methods depending on your adhesive choice:
Glue method (fast service)
- Apply a tiny bead of nail glue to the spot where the charm will sit—use less rather than more.
- Pick up the charm with tweezers and set gently, holding for 5–10 seconds until secure.
- Seal with a small amount of thin topcoat around the base to reduce snags.
Gel method (maximum hold)
- Place a small dot of builder or sealing gel where you want the charm.
- Position the charm and cure under an LED/UV lamp according to the gel’s instructions.
- Apply a layer of builder gel or topcoat over and around the edges, then cure again for a smooth finish.
The gel method gives the most durable results for clients who use their hands a lot, while glue is quick for shorter-term looks or events.
Design ideas to try
- Accent nail: Place a single pink rose and one rhinestone pearl on the ring finger over a soft pastel base.
- French twist: Position tiny roses at the smile line for a floral French manicure.
- Clustered couture: Group several small pieces near the cuticle and seal with gel for a 3D boutonnière effect.
- Mix-and-match: Combine one pink rose on alternating nails with plain rhinestone pearls for subtle rhythm.
Who should use these charms
This 40-piece assortment is well suited for nail technicians building their decoration library, students practicing 3D placement, and home users wanting a professional look for special occasions. If you offer bridal or spring-themed sets, the light pink roses fit seasonal palettes well.
Care, maintenance, and removal
To prolong wear, advise clients to avoid excessive exposure to water and harsh chemicals, and to wear gloves during heavy chores. Reapply a thin layer of topcoat weekly if needed to shore up edges.
For removal, soak enhancements with the appropriate remover for the adhesive system used. If charms are glued on natural nails, gently lift with an orange wood stick after softening glue—never force the piece off, as that risks damage to the nail plate.
Safety notes and professional tips
- Always check for client allergies to adhesives or metals in charms and pearls.
- Use minimal glue to avoid overflow onto the skin; excess adhesive can cause lifting and irritation.
- Keep replacements and backups in a labeled container—having extras prevents delays mid-service.
These pink rose charms are an inexpensive way to elevate designs; a 40-piece set is priced at $5.99, though prices can change. Available through professional suppliers, they’re a low-cost add-on to your creative toolbox.
With disciplined prep, careful placement, and correct sealing, you can achieve reliable, salon-level results whether you’re working from a home station or a busy salon. Small floral accents like these transform ordinary manicures into memorable, high-end finishes.
